How to export a PST file from Microsoft 365
#howto, #office 365 tenant, #microsoft 365
You can use the following instructions to export .pst files from the admin panel.
Step 1: Firstly, you need to login to your Microsoft 365 account and launch Microsoft 365 Admin center.
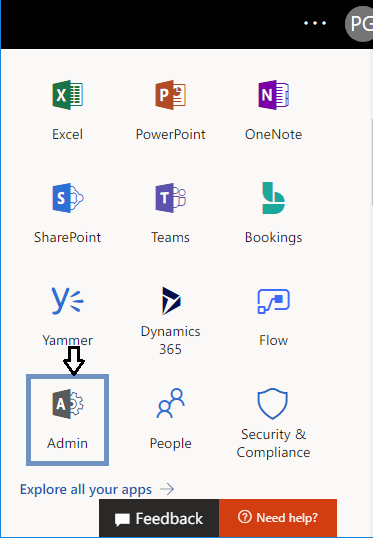
Step 2: From the Admin centers, click on the Security and Compliance option.

Step 3: Under the Security and Compliance section, select the Permissions option and Drag to eDiscovery Manager.
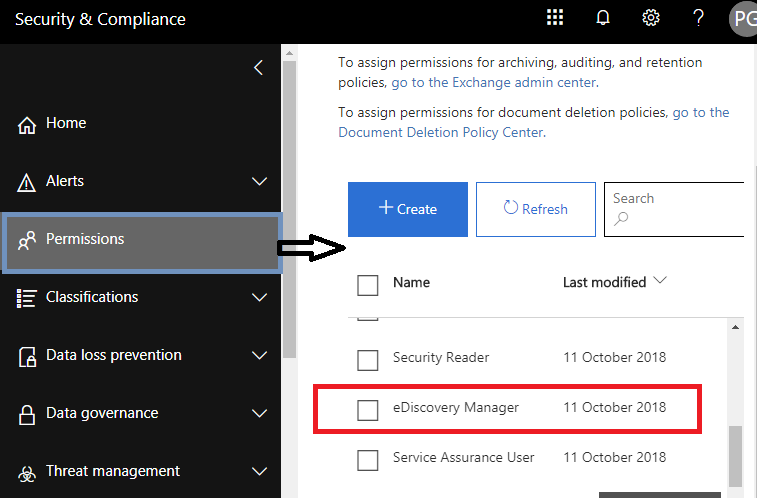
[Note: To access various eDiscovery features, it is important to be a member of the eDiscovery Manager role group.]{.mark}
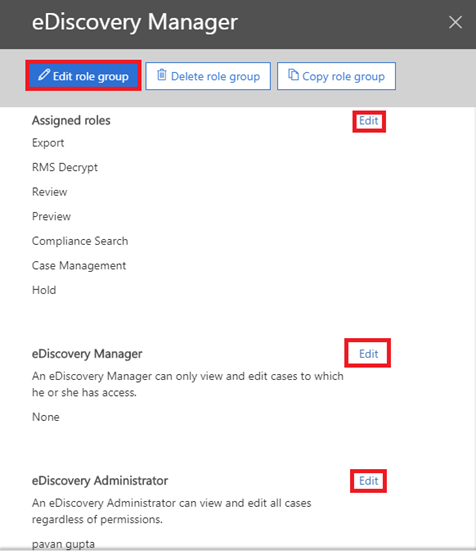
Step 4: Check the box beside eDiscovery Manager, Next Edit icon to add the important roles that are required for the Discovery Management group.
Step 5: Generally, the role group is assigned to the following roles: Case Management, Compliance Search, Export, Hold, Preview, Review, and RMS Decrypt.
Step 6: If the Export role is missing, click Edit role group and add it.
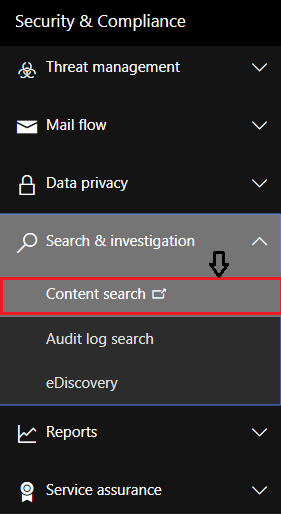
Step 7: The Role is now assigned. Drag Down to Search and Investigation and select the Content search option.
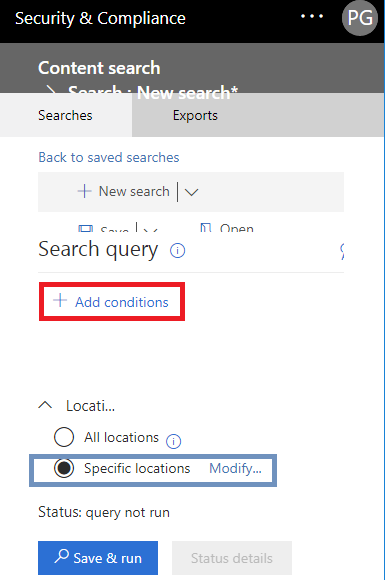
Step 8: From the new window, click on the New search option, which is available in the latest version of eDiscovery Content Search.

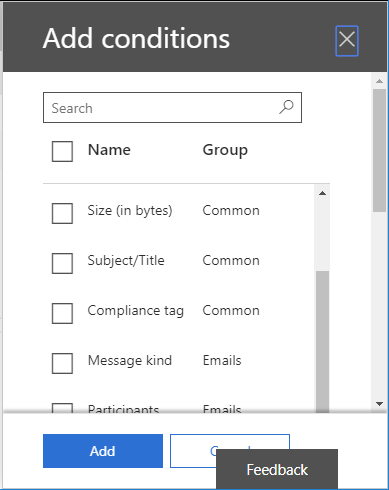
Step 9: Specify the data to be exported from Microsoft 365 mailboxes to the PST file format in the search window. The user can Add conditions to make the Microsoft 365 search process more accurate as needed. As you can see, there are multiple items available to filter search emails and other items.
Step 10: To Export Microsoft 365 mailboxes to PST from all mailboxes, select Specific locations and Modify.
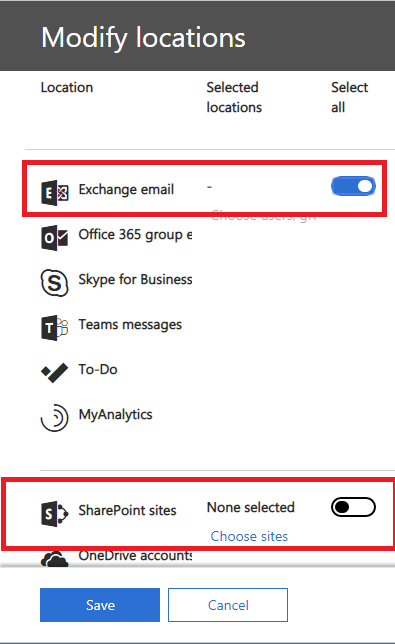
Step 11: Now choose emails or specify the mailboxes using the Choose users groups option.
Step 12: One can also export mailboxes from SharePoint and Public folders by enabling Public folders option.
Step 13: The Search option renders multiple other filtering options, such as Equals Any of and many more, which selectively exports the contents.
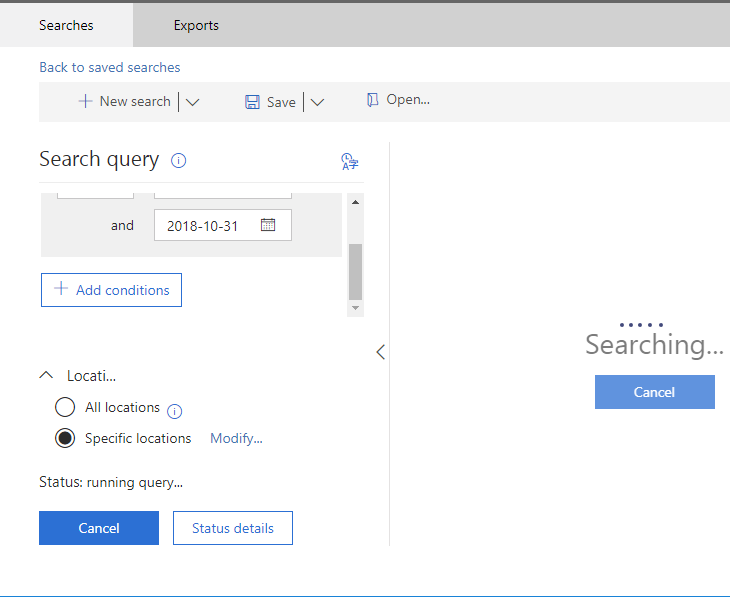
Step 14: In order to Export all Outlook 365 mailboxes to PST in bulk, do not add any conditions or keywords, simply click on the Save and run buttons. The tool will prompt you to enter the name of the search.

Step 15: Once the Save button is clicked, the tool will start the search in the background.
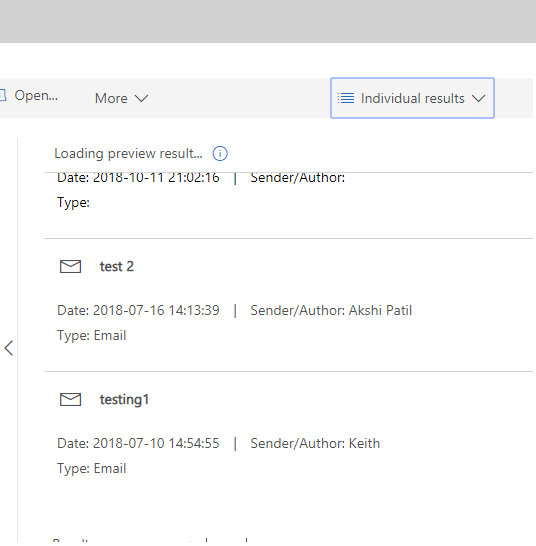
Step 16: Preview all the search results you want to export, as you can see below.
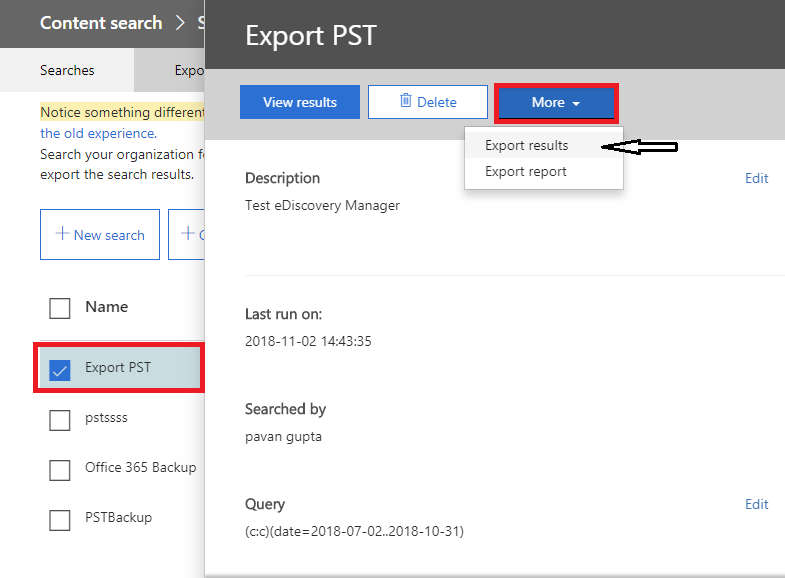
Step 17: Now Go back to saved searches and Select Folder name to export Office 365 Online Mailbox to PST. As we have selected Export PST file, one can check the status of the search with all the details concerning the search result. To do that, click on the More menu and choose Export results option.
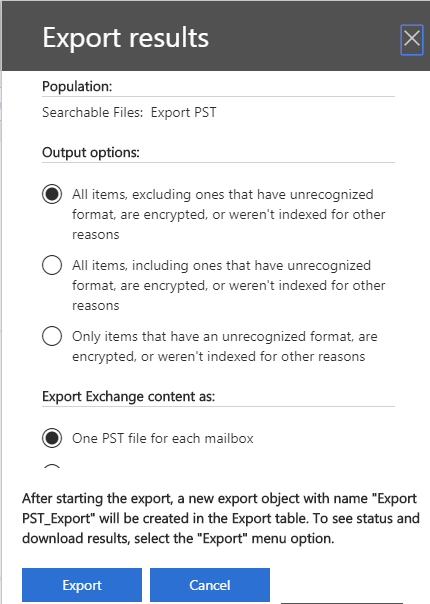
Step 18: From Export results wizard, select the radio button according to the requirement. Make sure that you do not check the Enable deduplication option unless there is a need to search results that are required to be exported to a single PST file.
Step 19: After the required settings are done, click on the Export button at the bottom of the window to Start the exporting process. Next, Close this Tab.
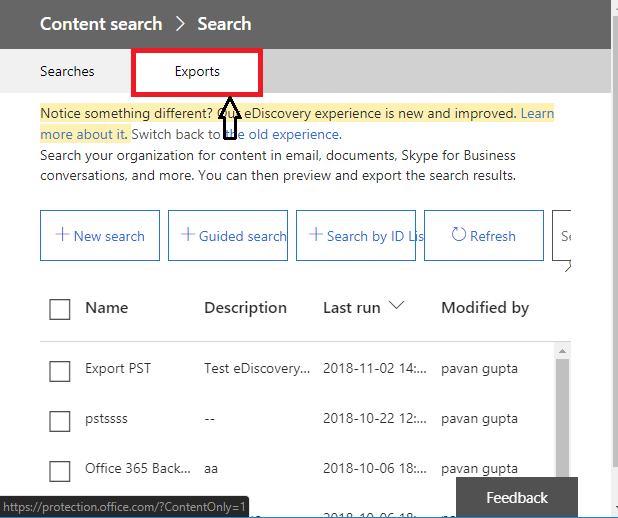
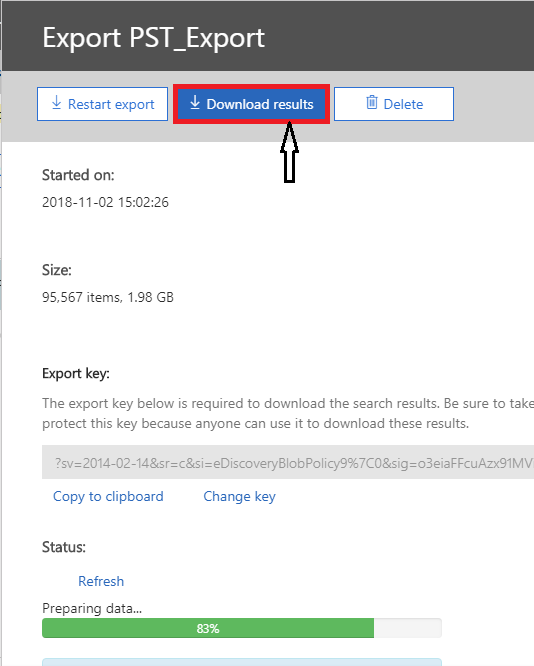
Step 20: In order to check the export progress, go back to the searches and click on the Export tab.
Step 21: Before the export process is completed, a user can click Download results button, which will begin downloading the results.
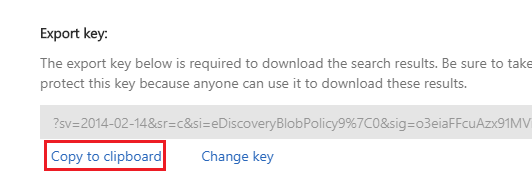
Step 22: Be sure to copy the Export key, which is required in the Click Once/eDiscovery application to export Microsoft 365 Mailboxes to PST.
Step 23: Then, paste the copied export key under the Paste field and select the desired folder to save the PST file.
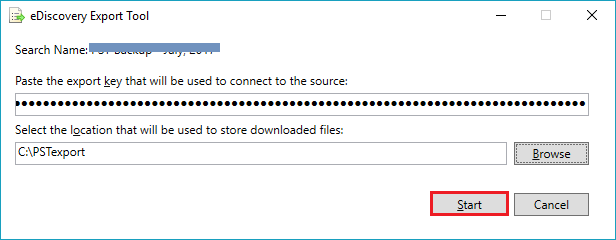
Step 24: Finally, click on the Start button to begin the export process, which will export Microsoft 365 Mailbox to PST file format.
Please let us know if you have any questions or need help with this guide.
Share
2019-12-06